
Step-by-step guide to updating DNS nameservers at Name.com
Updating DNS nameservers can be a daunting task, but with our step-by-step guide, you'll be able to do it with ease. We walk you through the process of accessing your domain settings and making the necessary changes to ensure your website is up and running smoothly.
You can find our nameservers in your hosting welcome email. You need to update your domain nameservers to our nameservers.
If your domain is registered on Name.com, you should follow this tutorial to update your domain's Nameservers.
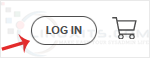
1. Open the Name.com website and click on Log in. It will redirect you to a login page.
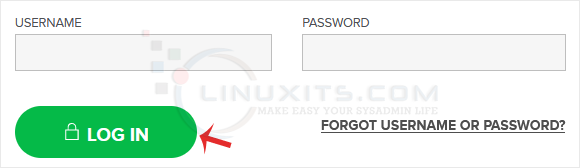
2. Enter the username and password of your account and then click on Log in.
3. After a successful login, click on My Domains, and you will see all of your active domain names under the Domain tab.
4. Click on the domain name you wish to change. 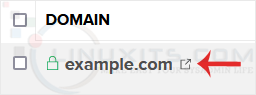
5. Scroll down to the bottom of the page and under Nameservers, click on Manage Nameservers. 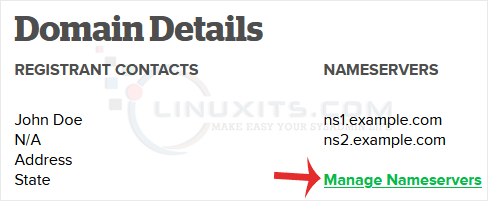
6. Navigate to Add Nameserver and enter our nameserver in the text field (for example, ns1.example.com). Then click on Add. Repeat this to add our second nameserver. 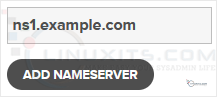
Note: You need to check your Hosting Welcome E-mail for your current nameservers. In case you have lost it, contact us. We will be glad to assist you. It may take anywhere from 12 to 24 hours for the changes to take effect worldwide.
Updating your DNS nameservers is just one part of maintaining a functional website. In this final section, we will share best practices and expert advice on how to keep your DNS nameservers up to date on an ongoing basis, ensuring optimal performance and security for your website.
