
Step-by-step guide: Updating DNS Nameservers at DynaDot
Updating your DNS Nameservers at DynaDot is a crucial step in managing your website's domain. In this article, we provide a detailed walkthrough of the process, ensuring that even beginners can successfully update their DNS Nameservers.
You can find our nameservers in your hosting welcome email. You need to update your domain nameservers to our nameservers.
If your domain is registered on DynaDot, you should follow this tutorial to update your domain's Nameservers.
1. Open the DynaDot website and click on Sign-in. It will redirect you to a login page.
2. Enter the username and password of your DynaDot account and then click on Sign-in. 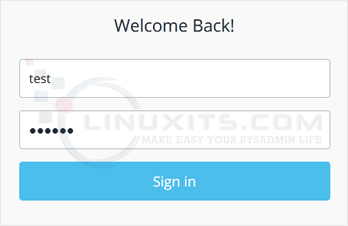
3. After a successful login, select Manage Domains from the My Domains drop-down menu. 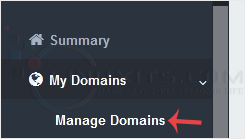
4. Check the box next to your domain name(s) and click on the DNS Settings from the Bulk action drop-down menu. 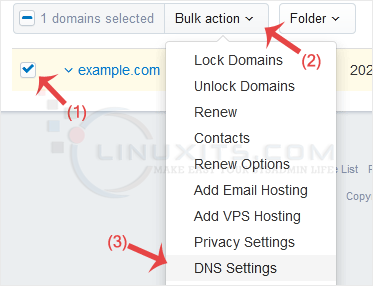
5. Select the Name Servers option from the drop-down menu. 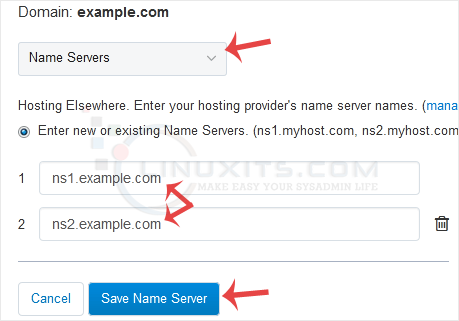
6. Enter your nameservers in the provided text boxes, and click on Save Name Server to save your changes.
Note: You need to check your Hosting Welcome E-mail for your current nameservers. In case you have lost it, contact us. We will be glad to assist you. It may take anywhere from 12 to 24 hours for the changes to take effect worldwide.
By taking charge of your domain's DNS Nameservers, you can unlock a world of possibilities for your online presence. With our step-by-step guide and expert advice, you'll have all the tools you need to confidently update your DNS Nameservers at DynaDot.
