
Step-by-step guide to setting up your email signature
Setting up an email signature on your Android device is a simple process that can make a big difference in your professional communication. Follow our easy step-by-step guide to create a customized email signature that reflects your personal style and includes all the essential information.
We hope you have already read our tutorial on How to Set Up a cPanel Email Account in Android, and you have already added a built-in email widget to your Android screen.
The built-in Android email application allows us to set a custom email signature, which displays at the end of your email.
1. Open the Inbox or Gmail Application.
![]()
2. On the top left, tap on Menu. Scroll down to the bottom and then tap on Settings. 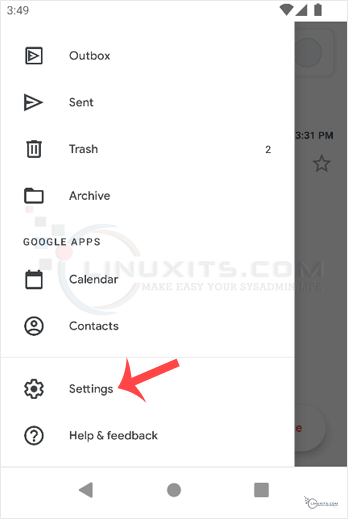
3. Select your email account. If you have multiple accounts, you can set different signatures for each one. 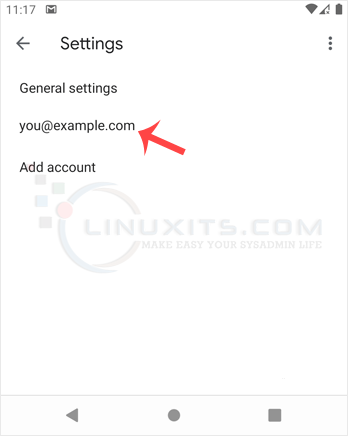
4. Tap on Mobile Signature. 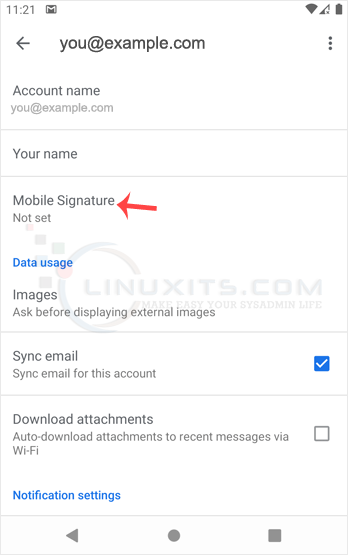
5. Set up your customized signature and then confirm with OK. 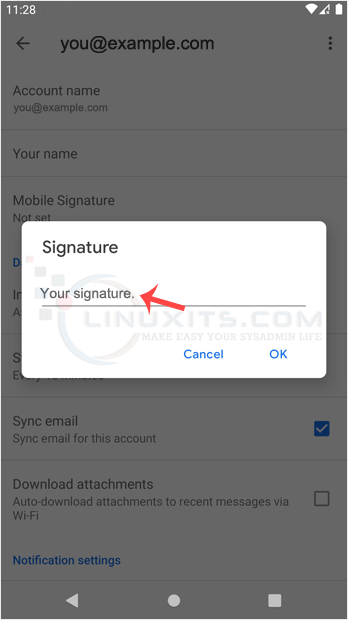
Now, whenever you send an email or reply to one, the signature will be automatically added at the end of your email.
A professional and informative email signature not only enhances your personal brand but also improves communication efficiency by providing recipients with all the necessary contact information upfront. Follow our guide to set up an impressive email signature and make a lasting impression every time you hit send.
