Step-by-step guide to installing Webmin on Linux
Installing Webmin on Linux can seem daunting at first, but fear not! We've created an easy-to-follow guide that takes you through each step of the installation process. From downloading the necessary files to configuring your server, we've got you covered.
Webmin is a free hosting control panel with easy installation. It takes only 5 to 10 minutes, and the configuration is simple.
What are the requirements?
- Fresh CentOS, AlmaLinux, or Ubuntu installed on your VPS/Server.
How to install Webmin?
Step 1: Log in to SSH Client using your root account.
Then enter these commands:
yum install wget -y
wget http://prdownloads.sourceforge.net/webadmin/webmin-1.990-1.noarch.rpm
yum -y install perl perl-Net-SSLeay openssl perl-IO-Tty perl-Encode-Detect perl-Data-Dumper unzip perl-Encode-Detect
rpm -U webmin-1.990-1.noarch.rpm
Note: The installation may take a few minutes and will depend on the speed of your server. After it is done, the installation will display a message with the Webmin admin URL.
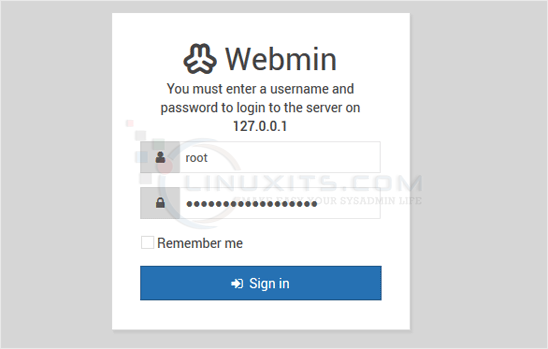
Step 2: Open your Webmin URL in a browser, such as https://ip-address here:10000 
If the URL doesn't work, open port 10000 in your server's firewall. You can do so by running the following command:
firewall-cmd --zone=public --add-port=10000/tcp --permanent
firewall-cmd --reload
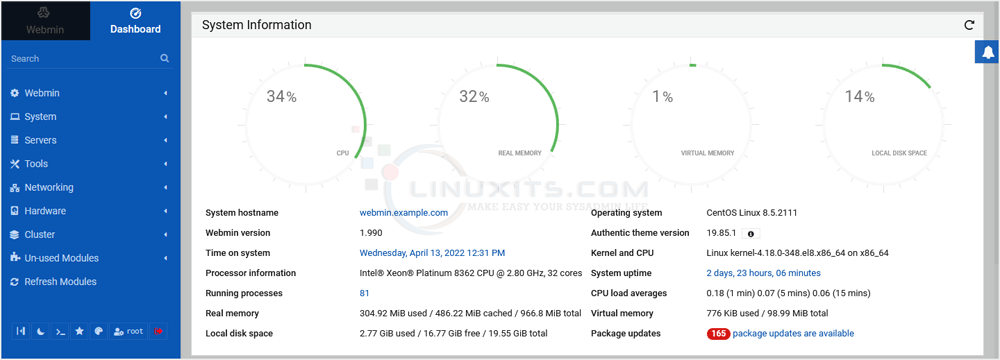
The Webmin Dashboard will open. Webmin's new design looks great. 
In conclusion, Webmin is an invaluable tool for simplifying Linux server management, and installing it doesn't have to be complicated. By following our step-by-step guide and leveraging the features of Webmin, you can efficiently manage your servers and ensure their security. And with LinuxITs as your trusted IT support provider, you can focus on growing your business while leaving the technical aspects in capable hands.


