Installing Filezilla Client - Once you have downloaded the FileZilla Client setup file, it's time to install it on your Windows machine. Our step-by-step instructions make the installation process quick and easy, even for non-technical individuals.
Installing the FileZilla FTP Client on Windows OS is easy. Just follow this tutorial.
1.Download the Filezilla FTP Client Installer file for your Windows OS.
2. Double click to Run the FileZilla FTP Setup File. If it shows a security warning, please read and accept it. Then click on Run.
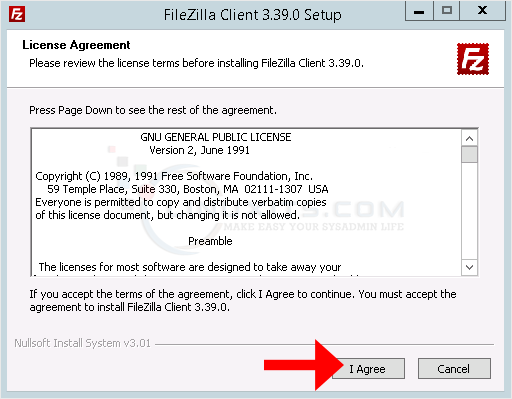
3. The FileZilla Client will show a License Agreement. Please, read it and accept the agreement to install the FileZilla Client on your computer.
4. Click on Next until it shows the Install option. Then choose it.
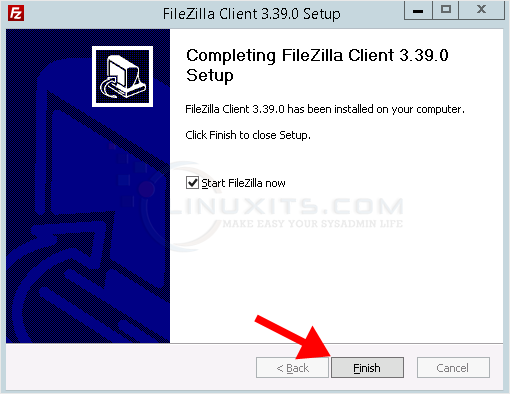
5. The installation usually completes in a few seconds. However, depending on the speed of your computer, it may take a little longer. Once it ends, confirm with Finish.
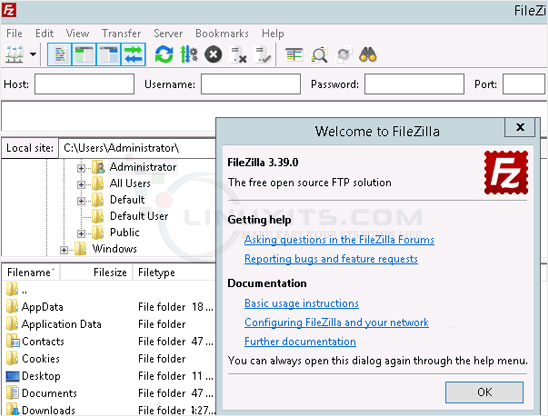
Congratulations. You have successfully installed the FileZilla Client on your Windows operating system. Now you can start using it.
Beyond the basics, Filezilla Client offers a wide range of advanced features that can enhance your file management experience. In this final section, we'll explore lesser-known tips and tricks, such as customizing keyboard shortcuts, utilizing synchronized browsing, and automating tasks with the built-in scripting functionality.


