cPanel is a popular web hosting control panel that provides a user-friendly interface and powerful management tools for your website. In this article, we will guide you through the step-by-step process of installing cPanel, highlighting its key features and benefits along the way.
cPanel is the #1 Hosting Control Panel in the web hosting industry. You can easily install it.
What are the requirements?
- Fresh Ubuntu or AlmaLinux OS installed on your VPS/Server.
How to install cPanel?
1. Log in to your VPS/Server via the SSH Client.
2. Copy the following command and paste it into the SSH console. Then press Enter.
cd /home && curl -o latest -L https://securedownloads.cpanel.net/latest && sh latest
3. The cPanel installation has begun. It can take from 10 to 20 minutes. 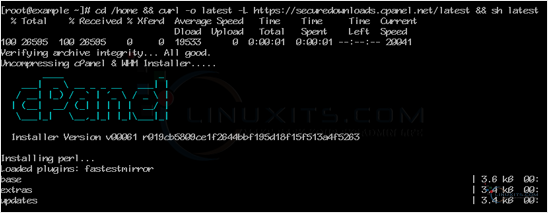
4. Once the installation is complete, the console will display a message that the cPanel Installation has been completed. 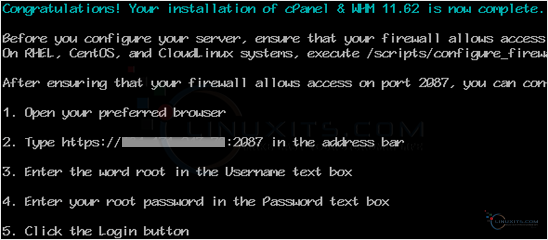
5. Open https://your-server-IP-here:2087 (WHM).
6. Enter the root username and password. 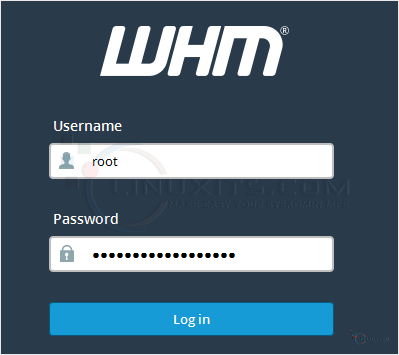
7. Click on Login.
cPanel/WHM Setup Wizard:
Step 1: Read and accept the agreement. 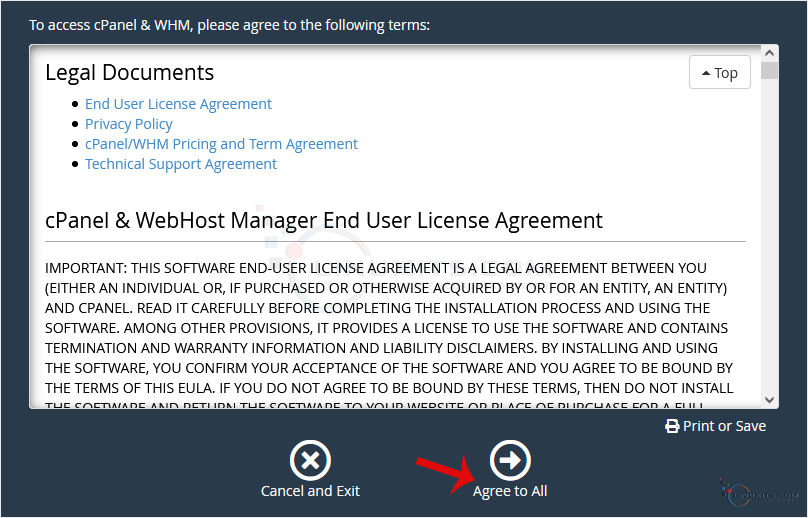
Step 2: If the cPanel license is not active, it may ask you to log in to the cPanel store to activate the trial license.
Step 3: Setting up Email and Nameservers:
- Email Address: Enter your email address. You will receive a cPanel-related alert in your email.
- Nameservers: Enter your domain nameservers such as ns1.example.com and ns2.example.com. Please, replace example.com with your domain name.
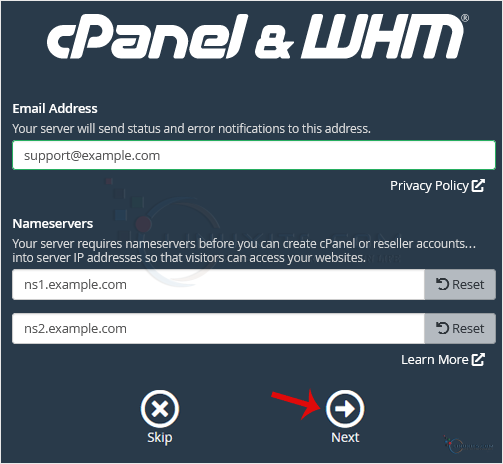
Finally, click Next.
Congratulations, the cPanel installation is complete. All you need to do now is to compile Easy Apache, change settings, install the firewall, etc.
Installing cPanel is just the beginning - by leveraging its full potential, you can unlock a world of possibilities for managing and growing your online presence. Let us guide you through the process and help you harness the power of cPanel for your business success.


