
Step-by-step guide to editing the self-shutdown timer in Virtualizor
If you're new to Virtualizor or simply need a refresher, this step-by-step guide will walk you through the process of editing the self-shutdown timer. From accessing the control panel to making the necessary changes, we provide clear instructions and screenshots to help you along the way.
You can easily edit the self-shutdown timer in Virtualizor. Please, follow the steps below to edit the self-shutdown timer.
1. Log in to your Virtualizor Control Panel.
2. From the left side panel, click on List VPS.

3. Hover your mouse on the appropriate VPS, and that line will be highlighted. Then click on the Manage icon in the highlighted line.

4. Click on the Self Shut Down.
![]()
5. If you have multiple timers, hover your mouse on the appropriate one, and that line will be highlighted. Then, click on Edit in the highlighted line.
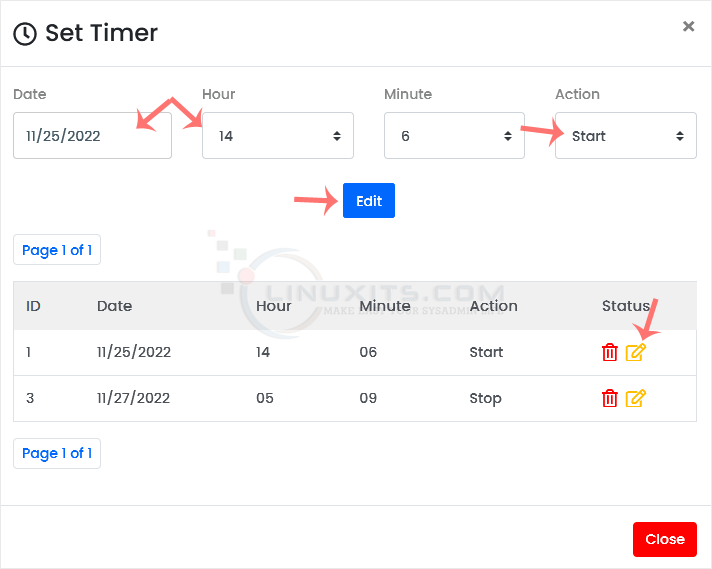
6. Make changes as per your needs and then click on Edit.
Now that you have all the necessary information and guidance, you can confidently edit the self-shutdown timer in Virtualizor to optimize your system's performance and resource allocation. Whether you're a Linux System Administrator or Software Engineer, this tutorial will equip you with valuable skills for improved administrator proficiency.
