Step-by-Step Guide: Creating an FTP Account in Plesk
Creating an FTP account is essential for managing your website's files and transferring them securely. In this guide, we will walk you through the process of setting up an FTP account using the Plesk control panel.
You can access the FTP account using the Plesk login details, which gives you full access to the home directory. However, if you want to create an FTP user account for a specific directory, you can create a separate FTP account.
1. Log in to your Plesk account.
2. Click on Websites & Domains from the Sidebar Menu.

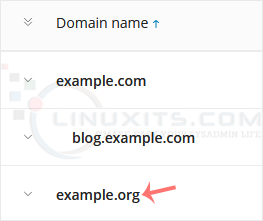
3. Under the list of Domain names, click on the appropriate domain.

4. Under Files & Databases, click on FTP Access.
![]()
5. Click on Add an FTP Account.

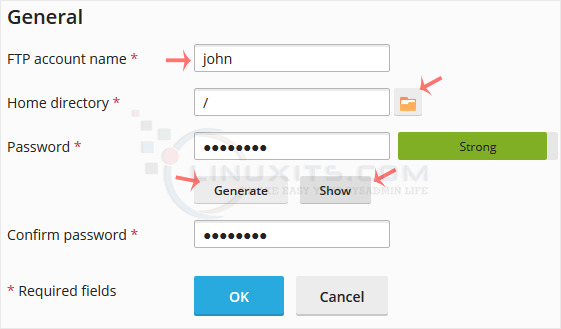
6. Fill in the following details:
- FTP account name: Enter a name such as john. It will be used as an FTP username.
- Home directory: Click on the directory icon to select the appropriate directory. If you grant access to a sub-directory, the user will not access outside the assigned sub-directory.
- Password: Enter a password or click on Generate to generate one. Click Show to display the password and copy it.

7. Confirm with OK.
Now, you can access your FTP Account by using your newly-created FTP account like:
Host: Your website IP Address or enter your website name such as ftp.example.com. Replace example.com with your website address.
Username: john.
FTP Port: 21 (Default port is 21).
FTP Password: Your FTP Password.
By following this guide and implementing best practices, you can create and manage FTP accounts effectively in Plesk, ensuring seamless file transfers and enhanced security for your business.


