
Step-by-step guide to changing your VPS root/admin password
Changing your VPS root/admin password is crucial for maintaining the security of your virtual server. In this tutorial, we provide a detailed, easy-to-follow guide on how to change your password in Virtualizer, ensuring that only authorized individuals have access to your server.
You can change the root/admin password of your VPS operating system using Virtualizor.
1. Log in to your Virtualizor Control Panel.
2. From the left side panel, click on List VPS.

3. Hover your mouse on the appropriate VPS, and that line will be highlighted. Then click on the Manage icon in the highlighted line.

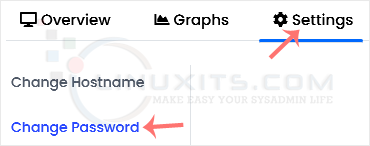
4. Click Settings and then choose Change Password.
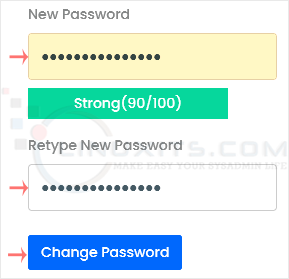
5. Enter your new password, and confirm with Change Password.
6. On the top right side, choose Poweroff.

7. Finally, click on Start.
![]()
It may take a few minutes for the VPS to start. You can then access it with your new password.
Changing your VPS root or admin password should not be a one-time task but rather part of regular maintenance measures to ensure ongoing security. In this informative piece, we offer tips on establishing a schedule for regular password updates along with reminders and tools to make the process seamless and hassle-free.
