
Step-by-Step Guide to Changing the VNC Password
In this section, we will provide you with a detailed step-by-step guide on how to change the VNC password in Virtualizor. From accessing the Virtualizor panel to modifying the password settings, we'll walk you through each stage of the process with clear instructions and helpful screenshots.
You can change the VNC password using Virtualizor.
1. Log in to your Virtualizor Control Panel.
2. From the left side panel, click on List VPS.

3. Hover your mouse on the appropriate VPS, and that line will be highlighted. Then click on the Manage icon in the highlighted line.

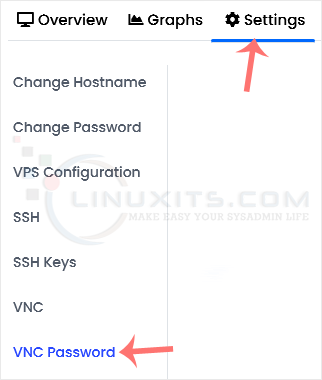
4. Click on Settings and then on VNC Password.
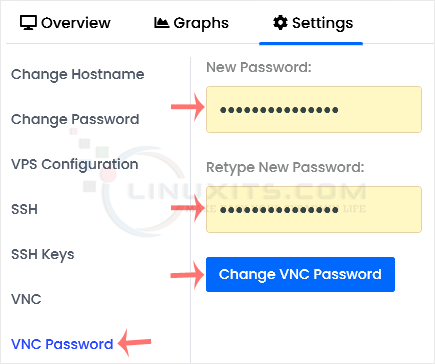
5. Enter your new password, and confirm with Change VNC Password.
6. Reboot your VPS. Now, you can access VNC with your new password.
By following this tutorial, you have learned how to change the VNC password in Virtualizor, significantly improving the security of your Linux-based virtual machines. Remember to regularly update passwords and employ other recommended security practices for optimal protection against potential threats in today's digital landscape.
