
Understanding the importance of default nameservers in WHM Root
Default nameservers play a crucial role in managing the DNS (Domain Name System) for your website. Changing these nameservers can provide you with more control over your website's hosting and domain settings. In this article, we will guide you step-by-step on how to change the default nameservers in the WHM Root.
You can change the default nameservers in your WHM Root Account.
Note: Root access is required. You cannot access it with a WHM Reseller account.
1. Log in to your WHM Root Account.
2. Go to Server Configuration >> Basic WebHost Manager® Setup or type Basic in the menu filter box. The option will appear. Click on it. 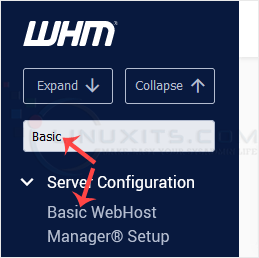
3. Scroll to the end of the page. Under Nameservers, enter your Nameservers in the text field. 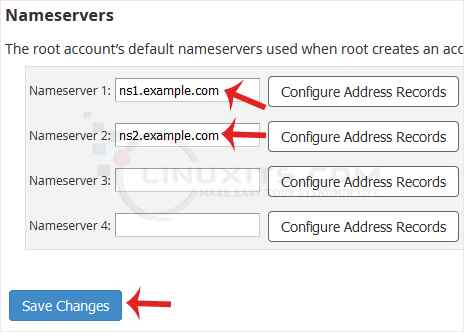
4. Click on Save Changes.
The nameservers will be changed successfully.
By following this comprehensive guide on changing default nameservers in WHM Root, you'll be equipped with the knowledge and confidence needed to efficiently manage your Linux system administration tasks while keeping your online presence up-to-date.
