Step-by-step guide to accessing WHM for Linux system administrators
Accessing the Web Host Manager (WHM) is an essential skill for Linux system administrators. In this guide, we will walk you through the step-by-step process of accessing the WHM, including how to log in, navigate the interface, and manage your server settings.
WHM or Web Host Manager is a reseller end control pane. It allows you to have administrator access to the backend of cPanel. After you place an order and make a successful payment, you will receive a welcome email with login details.
You can access the WHM from an IP address or hostname you received in your welcome email with the following port.
Permanent URL:
https://$hostname.com:2087 (SSL Protected).
http://$hostname.com:2086 (Non-SSL - Insecure).
Login using the IP Address:
https://$ip-here:2087 (SSL Protected – Need Exception).
After your domain is propagated, you can access it from your domain as follows: https://example.com:2087.
How to Login to WHM?
1. Open your WHM login URL.

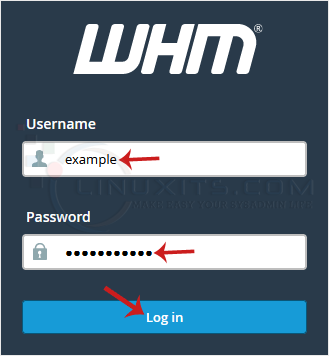
2. Enter your WHM login details, and click on Login. 
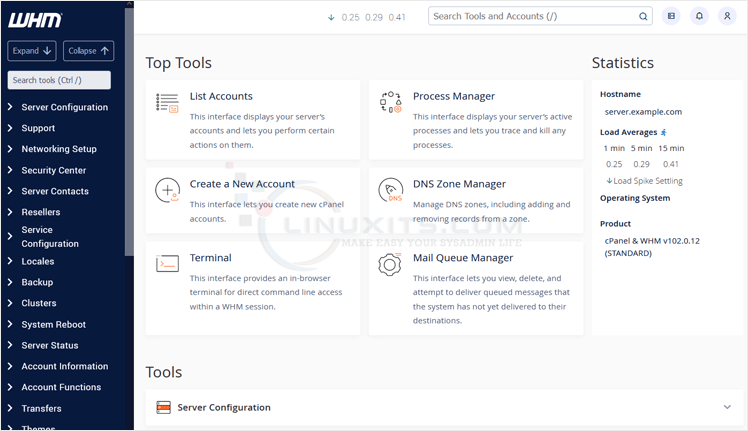
3. If your login details are correct, you will have successfully logged in to your WHM Account. 
Remember, accessing your Web Host Manager (WHM) is just the beginning! With our comprehensive guide and tips for maximizing its potential, you'll be well on your way to efficiently managing your Linux server environment.


